How To Make Easy Pita Bread At Home
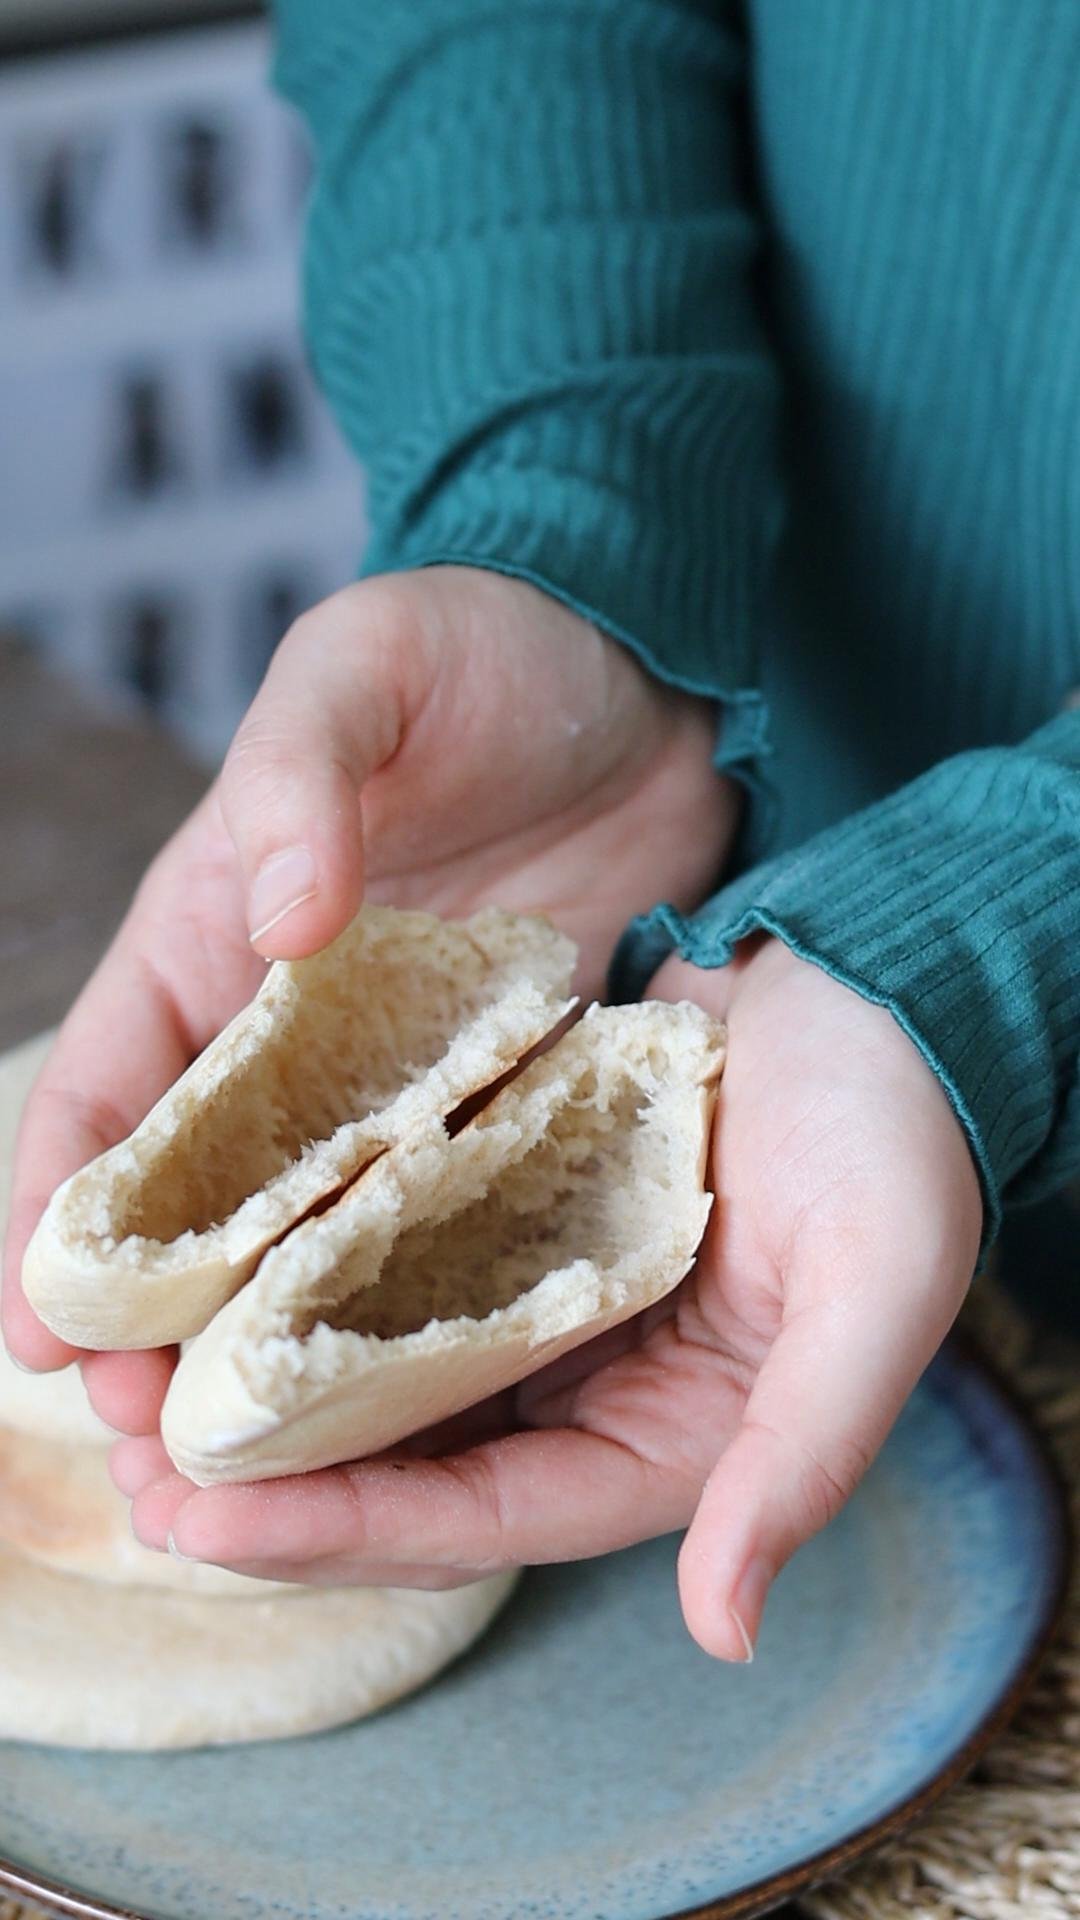
Pita bread, with its soft, pillowy texture and slightly chewy crust, is a versatile staple in many cuisines. Whether you're using it to scoop up hummus, stuff it with falafel, or create your own unique sandwich, homemade pita elevates any meal to the next level. With this recipe, you'll be amazed at how simple it is to achieve that bakery-fresh taste right in your own kitchen.
Making bread at home is a breeze and the best part? You don't need any fancy equipment! Just a few simple ingredients and a little bit of elbow grease are all you need to whip up a delicious loaf from scratch.
First off, let's talk about ingredients. All you need is flour, water, yeast, salt, and maybe a touch of sugar or honey to get your yeast all bubbly and happy. That's it! No need for any fancy additives or preservatives. Plus, you can customize your bread to your heart's content by adding in things like herbs, spices, or even dried fruit and nuts.
As for equipment, forget about those big, bulky stand mixers or fancy hand mixers. All you need is a good ol' mixing bowl and a sturdy spoon or your hands. Yep, that's right - you can knead your dough by hand! There's something so satisfying about feeling the dough come together under your fingertips. Plus, it's a great way to de-stress after a long day.
So whether you're a seasoned baker or a newbie in the kitchen, making bread at home is totally doable. And trust me, once you taste that first warm, freshly baked slice, you'll wonder why you ever bought bread from the store in the first place. So go ahead, roll up your sleeves, and get baking! Your taste buds will thank you.
Ingredients you will need-
Water
Yoghurt
Honey
Yeast
Flour (all-purpose)
Wheat flour
Extra virgin olive oil
Salt
Step-by-Step Instructions for Homemade Pita Bread:
1. Activate the Yeast: In a mixing bowl, pour lukewarm water. Add honey and yeast to the water. Stir gently to combine and let it sit for 5 minutes until the yeast becomes frothy and activated.
Mix the Dough: Once the yeast is activated, add yoghurt to the bowl. Gradually incorporate both types of flour (all-purpose and wheat flour, if using). Sprinkle in salt. Mix everything until a shaggy dough forms.
Knead the Dough: Transfer the dough to a floured surface. Knead the dough for 5 to 7 minutes until it becomes smooth and elastic. Enjoy the therapeutic benefits of kneading by hand! Drizzle extra virgin olive oil over the dough. Continue kneading for another minute or two to evenly distribute the oil throughout the dough.
Let the Dough Rise: Place the dough back into the mixing bowl. Cover the bowl with a clean kitchen towel or plastic wrap. Allow the dough to rest in a warm, draft-free area until it doubles in size. This typically takes about an hour.
Divide the Dough: Once the dough has doubled in size, punch it down to release any air bubbles. Divide the dough into 8 equal portions using a sharp knife or bench scraper.
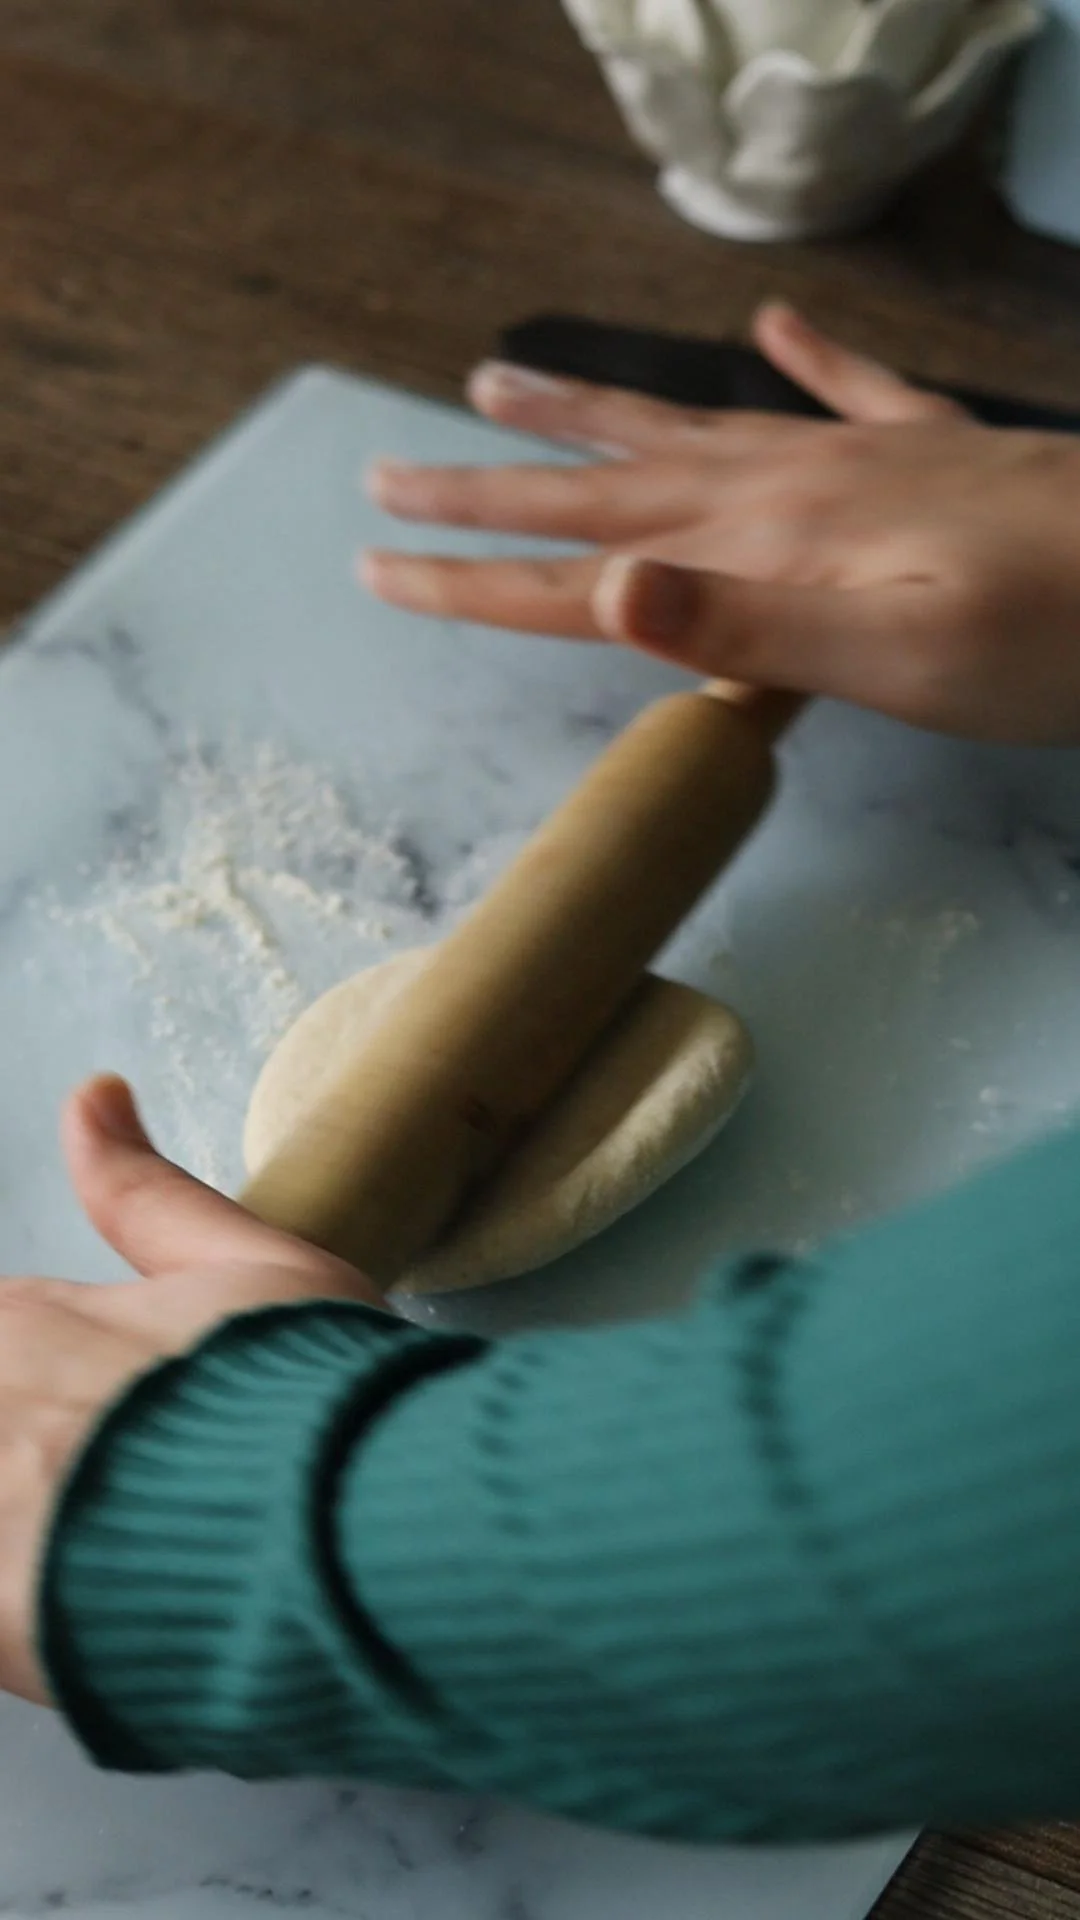
Shape the Pitas: Let the dough portions rest for 5 minutes to relax. Roll each portion into a circle about 1/4 inch thick. You can use a rolling pin for this step.
Preheat the Oven: While shaping the pitas, preheat your oven to 210 degrees Celsius (410 degrees Fahrenheit). Ensure that your oven has reached the desired temperature before baking. Arrange the rolled-out pitas on a baking tray lined with parchment paper. Allow the pitas to sit and rise slightly while the oven preheats. Once the oven is ready, place the baking tray in the oven and bake the pitas for 7 to 8 minutes. Keep an eye on them; they should puff up nicely and turn golden brown.
Enjoy Your Homemade Pita Bread: Once baked, remove the pitas from the oven and let them cool for a few minutes on a wire rack. Serve them warm with your favorite dips, fillings, or enjoy them on their own. Store any leftovers in an airtight container once completely cooled.
Hope you try this easy pita bread recipe. I like to make this at home and freeze in a ziplock bag and you can take one out and microwave it to make a sandwich and it makes it so easy. If you try this and do like let me know if you like. You can also tag me on my Instagram (@krustandfrost)
Other Bread Recipes To Make at Home-
Hi!! My name is Maleeha , your passionate host and fellow food enthusiast, and I'm thrilled to take you on a delectable journey through the world of baking, cooking, and dessert-making
Easy Home-made Pita Bread
Prep Time- 20 mins
Proof Time- 1.5 hours
Yields- 8
Ingredients-
1/2 cup water
1/2 cup yogurt
1 tsp honey
2 tsp yeast
1 1/2 cups flour
1 1/2 cup wheat flour
2 tbsp evoo
1 1/2 tsp salt
Instructions-
Homemade Pita Bread Recipe:
Activate the Yeast:
In a mixing bowl, combine lukewarm water (make sure it's not too hot, or it will kill the yeast), honey, and yeast. Stir gently to dissolve the honey and yeast, then let it sit for about 5 minutes until it becomes frothy and bubbly. This indicates that the yeast is active and ready to work its magic in your dough.
Mix the Dough:
Once the yeast mixture is frothy, add yoghurt to the bowl. The yoghurt adds moisture and makes the bread soft.
Gradually incorporate both types of flour - all-purpose and wheat flour, if you're using it. The combination of flours gives the pita a nice texture and flavour.
Sprinkle in salt to enhance the flavour of the dough. Mix everything until a slightly sticky, shaggy dough forms. Don't worry if it seems a bit messy at this stage; it'll come together as you knead it.
Knead the Dough:
Transfer the dough to a clean, floured surface. Kneading helps develop the gluten in the dough, giving your pita bread its characteristic chewiness.
Knead the dough for about 5 to 7 minutes, using the heel of your hand to push the dough away from you and then folding it back over itself. Keep kneading until the dough becomes smooth, elastic, and no longer sticky.
Incorporate Olive Oil:
Once the dough is nicely kneaded, drizzle a bit of extra virgin olive oil over it. Olive oil adds richness and flavour to the bread, as well as helps to keep it moist.
Continue kneading for another minute or two to evenly distribute the oil throughout the dough. You'll notice the dough becoming smoother and more supple as you work in the oil.
Let the Dough Rise:
Place the dough in a clean bowl and cover it with a kitchen towel or plastic wrap. This creates a warm, humid environment for the dough to rise in.
Let the dough rest and rise for about an hour, or until it doubles in size. The rising time may vary depending on factors like the temperature of your kitchen and the activity of your yeast, so keep an eye on it.
Divide the Dough:
Once the dough has doubled in size, gently punch it down to release any air bubbles that may have formed.
Divide the dough into 8 equal portions using a sharp knife or bench scraper. This ensures that your pitas will be roughly the same size and cook evenly.
Shape the Pitas:
Let the dough portions rest for about 5 minutes to relax the gluten, making them easier to roll out.
Roll each portion into a circle about 1/4 inch thick. You can use a rolling pin to help you achieve an even thickness, but don't worry too much about making them perfectly round - rustic-shaped pitas have their own charm!
Preheat the Oven:
While shaping the pitas, preheat your oven to 210°C (410°F). It's important to make sure your oven is fully preheated so that the pitas bake evenly and puff up nicely in the heat.
Bake the Pitas:
Arrange the rolled-out pitas on a baking tray lined with parchment paper. Leave a little space between each one to allow for expansion as they bake.
Pop the tray into the preheated oven and bake the pitas for 7 to 8 minutes, or until they puff up beautifully and turn a golden brown colour. Keep an eye on them towards the end of the baking time to make sure they don't overcook and become too crispy.
Enjoy Your Homemade Pita Bread:
Once the pitas are baked to perfection, remove them from the oven and transfer them to a wire rack to cool slightly. This helps prevent them from becoming soggy as they cool.
Serve your homemade pita bread warm with your favourite dips, spreads, or fillings. Whether you're enjoying them with hummus, stuffing them with falafel and veggies, or using them as a base for a delicious sandwich, these freshly baked pitas are sure to impress!


